I figured the over all length and width of the quilt as I wanted mitered corners and was able to cut the two outside borders in one strip for each side. How does that work? The center of the quilt measured 51" x 76.5". I wanted to add 3 borders with a total width of 6" which would bring the outside dimensions to 63" x 88.5". With that information I need two pieces of each of the three borders at least 63" long and two pieces of each of the three borders 88.5" long. Experience has taught to make the borders a couple of inches longer. It is easier to cut off than have to add on! The inside border had to be pieced. You can piece borders one of two ways with seams on grain or biased seams. Biased seams are less noticeable particularly when hand-quilting.

I have found a graphite type quilting pencil I really like for marking quilts. The lead is easy to sharpen in a pencil sharpener and makes a nice line. One caveat: Do Not Drop It. The lead breaks into a bunch of little pieces, in the pencil, and are useless except as a placeholder to keep the lead from pushing back into the pencil. (Since developing tendonitis in the right arm I grip too firmly and press down with the whole arm.)

I wanted a simple quilting design that mirrored the quilt design for the center. While digging through Mother's template stash I found a block cutting template that was perfect. I have learned to find center and start my marking from there after years of being dissatisfied with the results when starting at one end and going to the other.

I then pinned the three layers together at the points.

And quilt away!
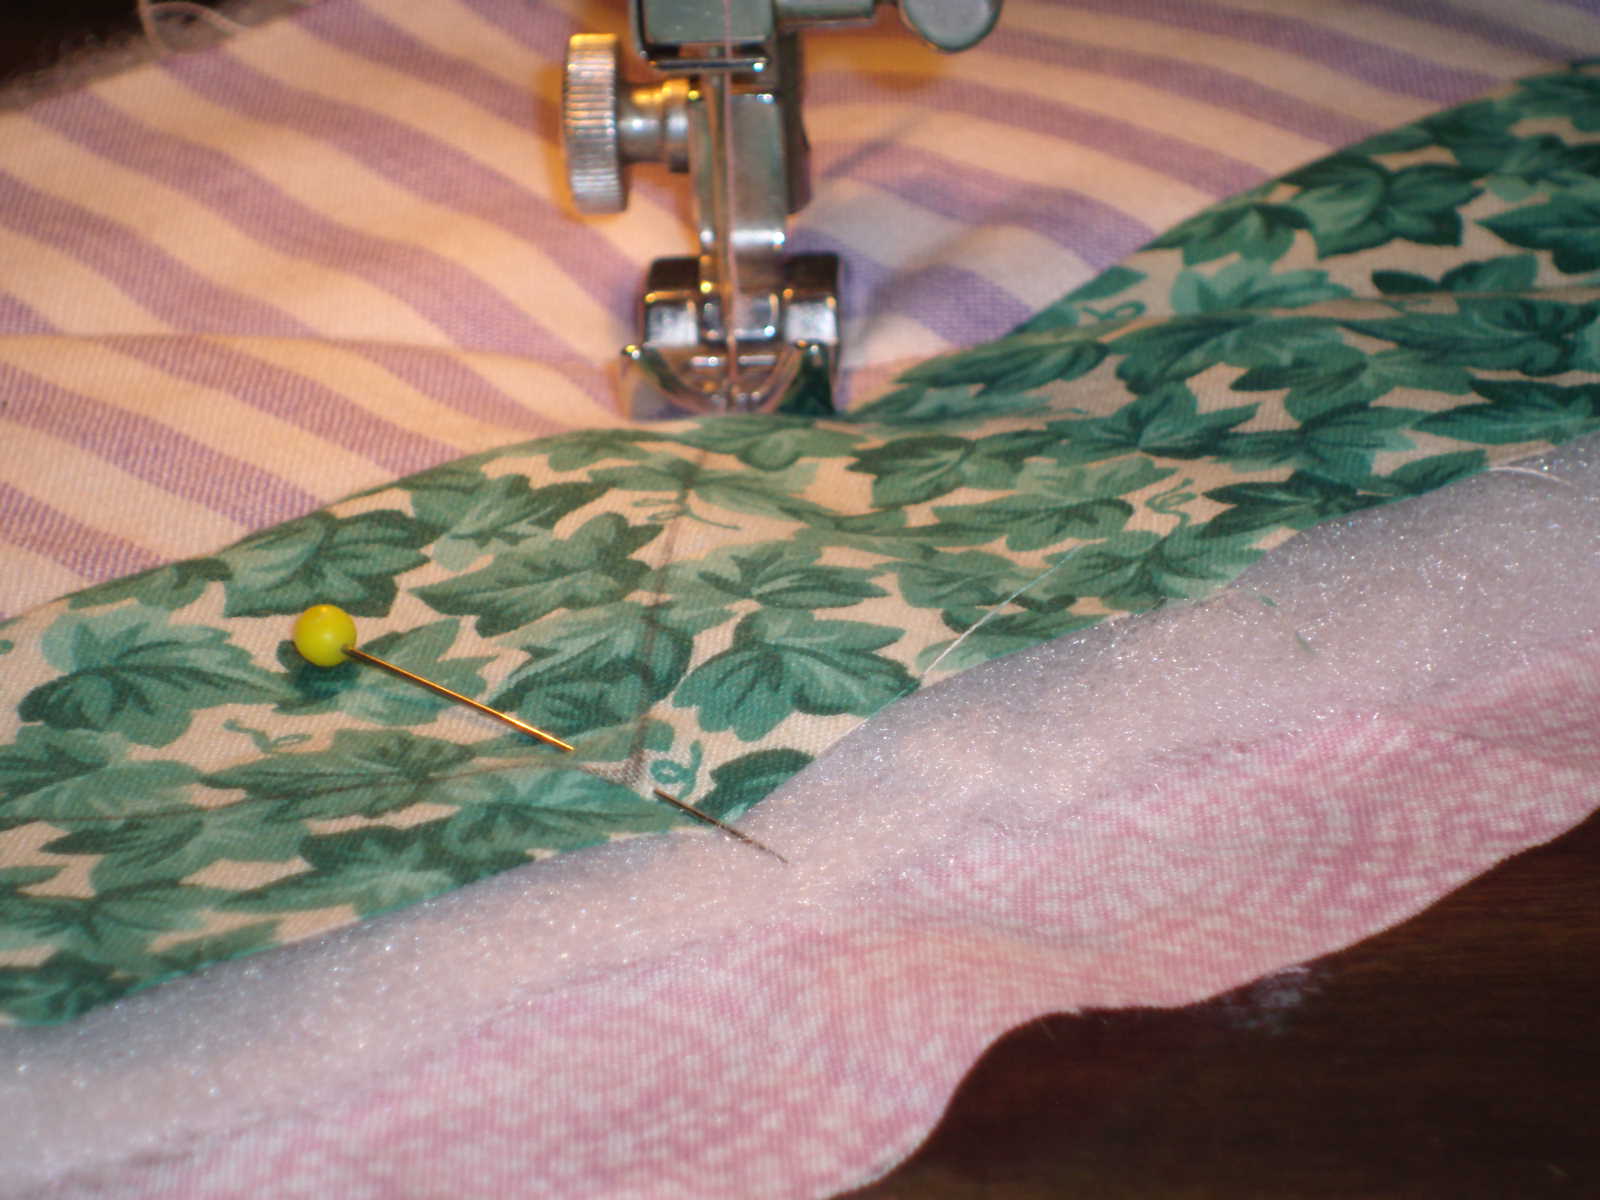
I then pinned the inner most borders on and sewed them on with 1/4- inch seam allowance. As you can see the backing is about one inch longer than the border.

I used a 1/2- inch seam allowance to attach the backing to the quilt center. Here is where I find out that what I wanted to do didn't work!! I had to do some picking out of quilting! AARRGGHH!

As you can see I had to trim the excess off of the long sides of the quilt. Then take the short sides and sew the backing all the way across instead of ending at the edge of the center of the quilt and miter the corners. And I had to do more picking out of the quilting! RATS!!

I pinned back the borders and trimmed up the batting to fit.

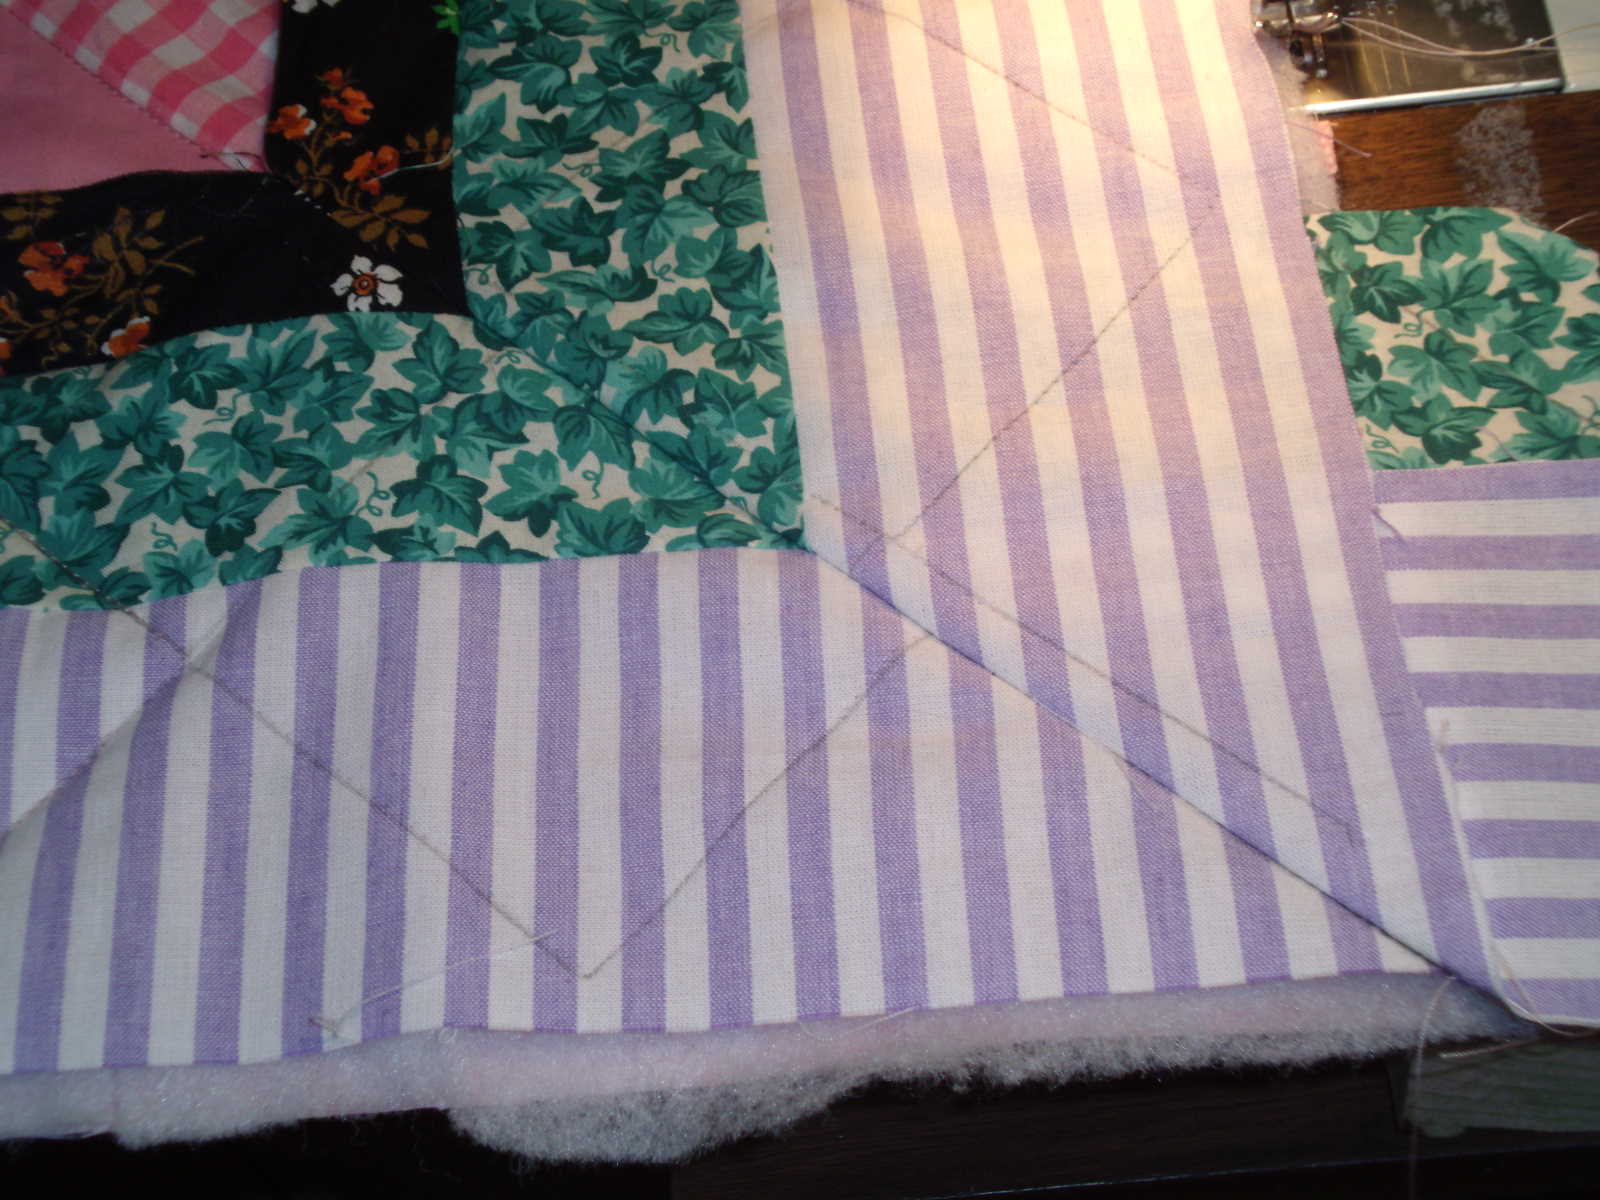
Then I laid the borders so they over lapped and squared of the strips so they would match.

Got my ruler out and marked where the 45-degree seam would go.

Turned the seams to the wrong side and sewed on the line

Turned it right side out and checked to make sure it laid flat.
I trimmed the excess off leaving a 1/4-inch seam allowance. Pinned everything in place and adjusted quilt lines so they flowed into each other around the corner.

Re-quilted everything I had picked out.

Then I turned a 1/4-inch of the edge of the inside border under, pinned, and topstitched the edge down.

All and all the idea of quilting your borders and then attaching would work best IF you are not trying to miter the corners. Horizontal borders with or without cornerstones would be the best way to use this idea at this point. If you want mitered corners you will most likely want to attach the borders and backing and then add the batting and quilt.
This post is long enough so I will show you how I make binding and the photos of the finished quilt in another post.
Have a great day!
Judy