Sunday, October 2, 2011

tappan zee sweater and socks

Wha! Hoo! I got yarn to finish my Tappan Zee Sweater today!


Camel is Bernat Satin's new Beige. So now my sweater is all sophisticated and is no longer Merely plum and beige. It is now Plum and Camel.


I got two skeins so I can now make the sweater a little longer, too!

And take a gander at this! Two socks at once! I'm really cranking out the production now! LOL


I'm going to finish the socks before I get started on the sweater again. Then I think I will look at a couple of quilting ideas I have.

Have a good day!

Judy

Wednesday, September 28, 2011

socks - a first

Two wearable socks! Two started, two finished with no start-overs, no picking back! Kewl!


I use TLC Baby by Red Heart. It is 100% acrylic in 5322 powder yellow and is a light sport weight #3 on US #3 needles. I did most of the knitting using Magic Loop Method on my 40" Circular. Cast-on was the twisted German and cast-offs were Kitchener Stitch. The pattern was a hybrid (of course! lol) of a sock pattern in Ann Budd's Getting Started Knitting Socks and After Thought Heel Socks by Laura Linneman. Using Ann Budd's instruction on page 56 to get started for 6 stitches per inch. I cast on 52 stitches and knit the leg in 2 x 2 ribbing for 6 inches. I read or heard on a video that someone knitted an extra half-inch of the leg in stockinette before doing the heel because it made doing the heel easier, which sounded like a good idea so I did.


Here is where I laid aside Ann Budd's book and picked up Laura Linneman pattern and the instruction on stell66's videos part 1 and part 2 and knit the rest of the sock. Easy-Peasy! The first sock was a 1/2 inch too long for Sister Suzy and I. The sock was about 1 inch too wide for Sister Suzy in the toes and a little too loose for me but wearable for bed socks or slipper socks. The second sock was knitted like the first to about 1 1/2 inches into the foot then I reduced the number of stitches by 6 and shortened the length by a 1/2 inch. I didn't need the extra room in the heel but Sister Suzy does with her very high arches. The second sock fit very well but I think it needed that 1/2 inch in length I took out but still very wearable.

So now I will knit 2 more socks to match the other two and then try my hand at a pair for Hubby. If that works I may knit socks for Christmas for Sister Suzy's friends.

Have a good day!

Judy

Friday, September 16, 2011

tappan zee sweater - out of yarn


I ran out of yarn! Rats! The sleeves are just not long enough for me. I wanted 3/4 length sleeves and these are only elbow or a little less. So the sweater will be set aside until I get to town and do some yarn shopping. I hope I can come up with something that is complementary to what I have because both of these colors are discontinued. If not, at least something I can live with as this sweater is for home use. (We keep a very cool house in the winter and layers are a must!)

So to start my next knitting project! I want to learn to knit socks! I want to do a top-down, afterthought-heel sock. I think a 2 x 2-rib leg would be simple enough. So I am waffling between Laura Linneman's After Thought Heel Socks or Cat Bordhi's Houndini Socks. Yes, I know, the Houndini Socks pattern is toe-up, but construction method really intrigues me. And why not knit the foot of the sock Cat Bordhi's way and knit the leg top-down then Kitchener stitch the two parts together? Unless, I go to Helen Griffin Golden Apples blog and look at some of her videos on bind-offs to learn a really stretchy one. Which wouldn't hurt me any either!

Well, off to do some more research, you have a good day!

Judy

Tuesday, September 13, 2011

More tappan zee sweater

Wha! Hoo!


I finally got the body of the sweater finished last night. I was so eager to pick up the stitches to start the sleeves I want to add that I didn't even think about photos of the body until I had three or four rows done. Taking photos at this point wouldn't show you much except a jumble of knitting because I am using the Magic Looping technique to knit both sleeves at the same time.

Later! Back to the sleeves!

Judy

Thursday, September 8, 2011

my garden a total loss

9/9/2011, 1:39 am Read at your own risk! I am still editing this thing!

My garden was a total loss this year. Nothing survived the heat and lack of water. I lost my drake and a chicken hen to the heat and another hen to predation (stray dog as usual). So I'm down to 4 chicken hens, 2 duck hens, 2 dogs, and a cat.

So know I am playing the "What's on sell this week? -N- Where is the biggest bang for my buck?" I picked up 20 lbs. of russet potatoes the other day and ran 10 lbs. through the dehydrator as mashed potatoes out of curiosity. Ten lbs. of potatoes were reduced to a little over 3 pints of flakes or buds. I cooked the potatoes, then mashed them with a little potato water. I then took about a cup and a half of mashed potatoes and put them on a Teflon sheet and rolled the potatoes out like a pie crust with piece of parchment paper on top and then dehydrated them at 120 degrees until each of my nine trays were crisp. Then I loaded up my food processor with broken up sheets of potato and whizzed them around until they were potato flake size.

I did sort of same thing with all my leftover sweet potatoes from last fall. After all the hard work to get those potatoes in last fall I didn't want to loose them to sprouting. While I was out on the web fooling around I came across a web-site with some you-tube videos on dehydrating. They had one where she boiled the sweet potatoes whole with skins on until just done. Then you peeled the potatoes, cut off a big slice, and smashed it between two pieces of parchment paper with a rolling pen and dehydrated the rounds. So I thought, why not just mash your sweet potatoes with a potato masher and spread out the pulp, as I had a lot of little potatoes that I need to do something with. So I took a cup of sweet potato pulp and plopped it on a Teflon leather sheet and used a piece of parchment paper and rolled it out to the size of my Teflon sheet and dehydrating 1 cup of pulp per sheet with a total load of 9 cups. I reduced the sweet potatoes down to about 4 quart-fruit jars. I will most likely add a hand full of sweet potato flakes to soup and stews, as I am the only one who likes to eat sweet potatoes as is, this way the sweet potatoes will get eaten up, maybe.

We have been participating in Banana-Thursday at the local grocery store. On Thursdays the bananas are the loss-leader at 18 cents a pound, limit five pounds. Hubby doesn't like raw bananas but loves banana-nut bread so we get the five pounds of bananas and bring them home then what Sister Suzy and I don't eat I have been dehydrating them into chips to make banana-nut bread later. Then we discovered on Friday mornings any bananas leftover from Banana-Thursday are still on sale and no limit! I have enough banana chips to make a dozen loaves of banana-nut bread so now my shekels are going to be spent on other fruits and vegetables to preserve.

I'm eyeing the bell peppers and jalapenos now because all the pepper plants were part of the shriveled up and dead. Ten bell peppers dehydrates down to a pint! I cook with a lot of bell peppers so I hope I find some good sales on them!

Cabbage was on sale this week so I am going to can up a couple of batches of Amish Cole Slaw. I found a recipe on Jackie Clay's blog in Backwoods Home Magazine's web site. I have made one batch and we tried one jar. Hubby and I thought it was very tasty. Sister Suzy choked down one bite, however she doesn't like anything pickled. I know, strange! It has a lovely sweet and sour taste.

Have a good evening!

Judy

P.S. Oh My God! I can't think and type at the same time! I hope I have all the grammatical and spelling errors fixed! I think I have edited this thing about a million times after I hit the publish button and Microsoft Word said it was good! Judy

Friday, September 2, 2011

designing a quilt - the binding

There are several different ways to make binding. One is to make the backing larger and roll the edge over and top stitch down. It works, looks nice, and I have used it on lots of comforts. However it also wears out faster because it is a single layer of fabric. I have used the satin blanket binding you can buy, once again; it works, looks nice but doesn't wear to well. The one I use the most frequently is the bias French binding. My fabric is cut on the bias and doubled over. The raw edges are sewn together on the quilt and the fold line is brought around and either slipped stitched to enclose the raw edges or is top-stitched down. Heirloom quality quilts the binding is hand-finished. Quilts I want used are top-stitched down.


Find the perimeter of your quilt in this case is 63+63+88.5+88.5=303". Multiply the length times the width of the binding unfolded. I wanted my binding 2.5" wide, so 303x2.5=757.5 square inches of fabric for the binding. Divide the square inches by the width of your fabric. I always use 40 inches to give you the length of fabric you will need. 757.5/40=18.93 or a little more than a half yard. This also helps when making binding from scraps and knowing if you have enough scrapes to piece together to make your binding. So I used the rotary-cutter and cut me up a bunch of strips.


I always use seam allowances that are at a 45 degree angle because they reduce bulk when folded in half and the seams are on grain (no stretched seams). I also always start by laying them out end to end to get my seams allowance right. Otherwise you end with some 90-degree angles. Who wants to rip? Not me!


I pin my seam allowances. Notice the edges are off set the width of the seam allowance so that when you open up the seam allowances the top and bottom edges are straight.


I use a 1/4" seam allowance and gang piece my seams.


Press seam allowances to one side then fold in half and press a crease down the middle. Measure to see if you have enough binding. It is easier to add to length of binding when the binding is not sewn to the quilt!


Because I was going to apply the binding from the back instead of the front I trimmed the excess backing and batting off the quilt. If I am applying the binding from the front I don't trim.


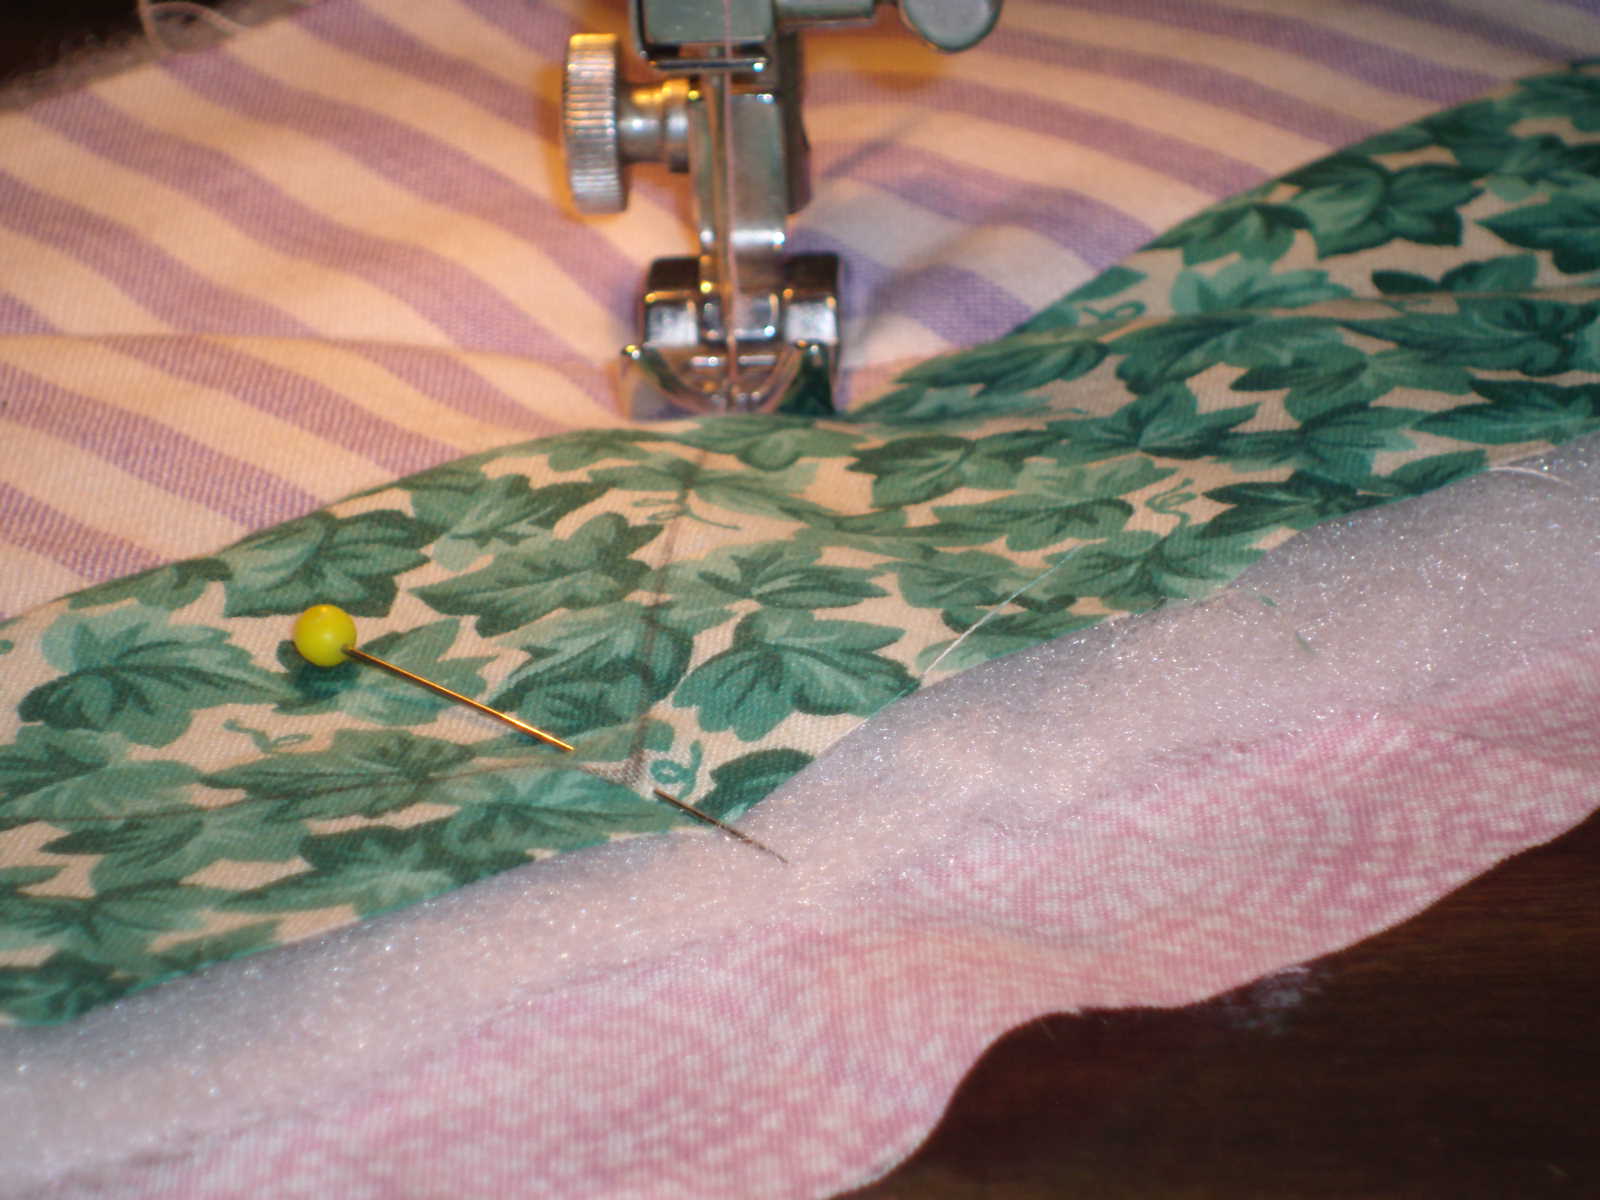
I pin my binding on, a lot of people don't. I don't want my binding to stretch because it is on the bias. I also don't want the raw edges shifting and I not catch them all in the seam allowance and have to go back and rip. (Shudder! Did I mention I really, really don't like to rip?) The photos of how to make mitered corners with your binding didn't turn out so here are some links so you can see the process. This is part One and Two and Three. One additional step I make is to over-stuff the binding. I've been told by quilters I respect that over-stuffing the binding cuts the wear of the binding. I also like the looks of an over-stuffed binding. What I do is cut 1/4 to 1/2-inch pieces of batting and place up against the raw edges. You do have to pin your binding closed: however to make it easier to top-stitch it closed. So what does this quilt look like finished?


TA! DA!


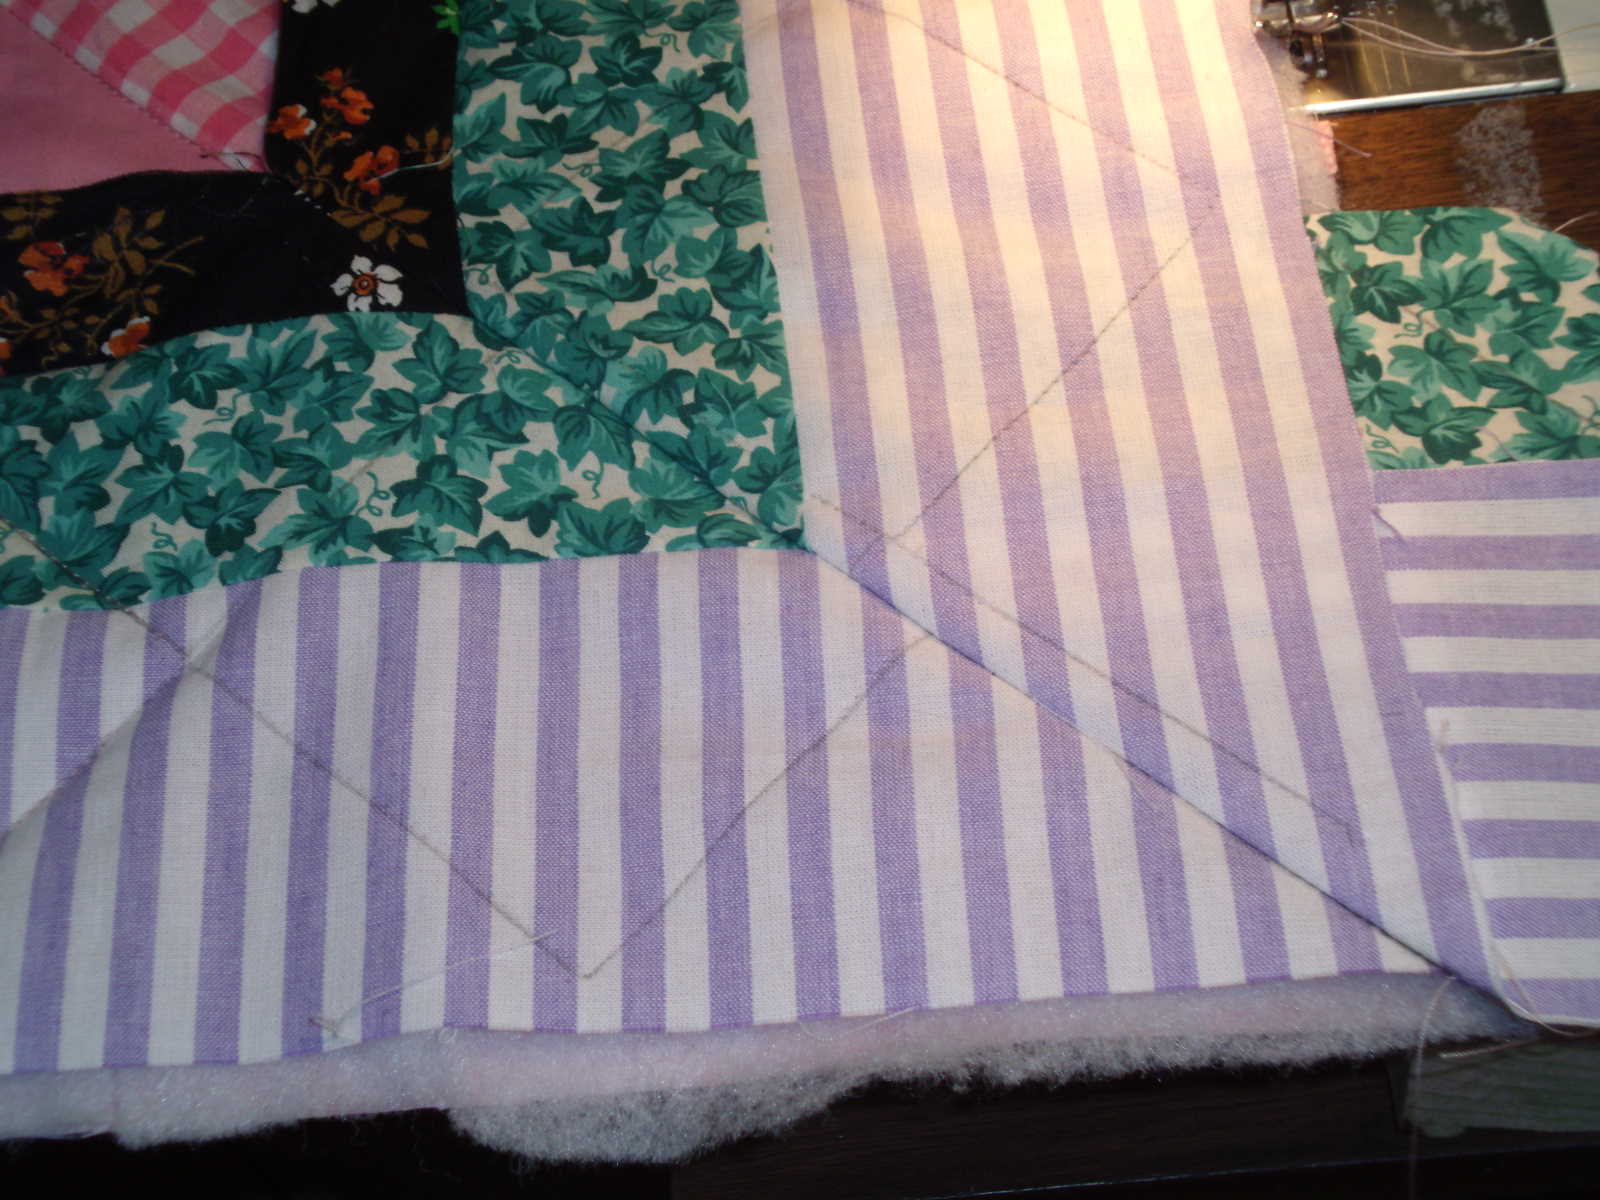
Detail photo of the corner!


And somebody taking a rest on the quilt!

There are no wrong ways to make a quilt. Do whatever suits your fancy. Remember the function of a quilt is to keep someone warm. So have fun and make quilts!

Have a good day!

Judy

Monday, August 29, 2011

Design a quilt - adding the border

Time to get this quilt finished!

I figured the over all length and width of the quilt as I wanted mitered corners and was able to cut the two outside borders in one strip for each side. How does that work? The center of the quilt measured 51" x 76.5". I wanted to add 3 borders with a total width of 6" which would bring the outside dimensions to 63" x 88.5". With that information I need two pieces of each of the three borders at least 63" long and two pieces of each of the three borders 88.5" long. Experience has taught to make the borders a couple of inches longer. It is easier to cut off than have to add on! The inside border had to be pieced. You can piece borders one of two ways with seams on grain or biased seams. Biased seams are less noticeable particularly when hand-quilting.


I have found a graphite type quilting pencil I really like for marking quilts. The lead is easy to sharpen in a pencil sharpener and makes a nice line. One caveat: Do Not Drop It. The lead breaks into a bunch of little pieces, in the pencil, and are useless except as a placeholder to keep the lead from pushing back into the pencil. (Since developing tendonitis in the right arm I grip too firmly and press down with the whole arm.)


I wanted a simple quilting design that mirrored the quilt design for the center. While digging through Mother's template stash I found a block cutting template that was perfect. I have learned to find center and start my marking from there after years of being dissatisfied with the results when starting at one end and going to the other.


I then pinned the three layers together at the points.


And quilt away!


I then pinned the inner most borders on and sewed them on with 1/4- inch seam allowance. As you can see the backing is about one inch longer than the border.


I used a 1/2- inch seam allowance to attach the backing to the quilt center. Here is where I find out that what I wanted to do didn't work!! I had to do some picking out of quilting! AARRGGHH!


As you can see I had to trim the excess off of the long sides of the quilt. Then take the short sides and sew the backing all the way across instead of ending at the edge of the center of the quilt and miter the corners. And I had to do more picking out of the quilting! RATS!!


I pinned back the borders and trimmed up the batting to fit.


Then I laid the borders so they over lapped and squared of the strips so they would match.


Got my ruler out and marked where the 45-degree seam would go.


Turned the seams to the wrong side and sewed on the line


Turned it right side out and checked to make sure it laid flat.


I trimmed the excess off leaving a 1/4-inch seam allowance. Pinned everything in place and adjusted quilt lines so they flowed into each other around the corner.


Re-quilted everything I had picked out.


Then I turned a 1/4-inch of the edge of the inside border under, pinned, and topstitched the edge down.


All and all the idea of quilting your borders and then attaching would work best IF you are not trying to miter the corners. Horizontal borders with or without cornerstones would be the best way to use this idea at this point. If you want mitered corners you will most likely want to attach the borders and backing and then add the batting and quilt.

This post is long enough so I will show you how I make binding and the photos of the finished quilt in another post.

Have a great day!

Judy