I was out cruising the web looking at You Tube videos for some new quilting ideas and found one demonstrating an idea they called the 10-minute block. The premise looked quick and do-able.
I want to make a 48" by 72" quilt. I decided that an 8" finished block would be the best choice for giving me the exact size I wanted. This size of block means you are dealing with 4 1/2" size pieces. I think the last seam is a bit fiddly and possibly because of this, it took me longer than 10 minutes to make one of these blocks.
First, I went through my fabric stash finding 44 different light colored fabrics and cut a 4 1/2" square of each one. Next I cut 8, 4 1/2" squares of the background fabric I wanted to use and made two blocks

Well, looking at those two blocks setting beside each other didn't do much for me, so I pulled out another piece of fabric and made two more blocks.


Much better! By the way that center square of fabric is a green print. The camera washed out the colors!
So to record the process for posterity and to offer some of my thoughts on the process let me show you some photos.

Here are my three piles of fabrics. If I make this block again I will use larger squares of fabric such as the 10" squares they used in the video. Also, if I use all the same size squares I will probably use 5 different fabrics for each square of the block. The 8" finished block I made would make a nice 3D bow-tie block. I, also, though the center square was out of balance if you were going to use all the same fabric for the background. I haven't experimented, but I think a 5 1/2" to 6 1/2" center square would give you a 4" finished center square. A 4 /12" center square ends up being 2 7/8" finished square.

Fold your center square in half. I found that the grain line mattered on this square. Fold it so the grain lines are together. (The non-stretch sides are opposite the fold.) Place right sides together.
Lay the top piece of the fabric sandwich on right sides together.

Pin the seam line and sew a scant 1/4" seam allowance catching the folded edge of the center square.

Fold the two sides back like this.

Because I wanted the backing fabrics to alternate, I laid the third piece of the block down to match the piece showing.

Lay the last square on right side down, pin the seam line and sew a scant 1/4" seam allowance.

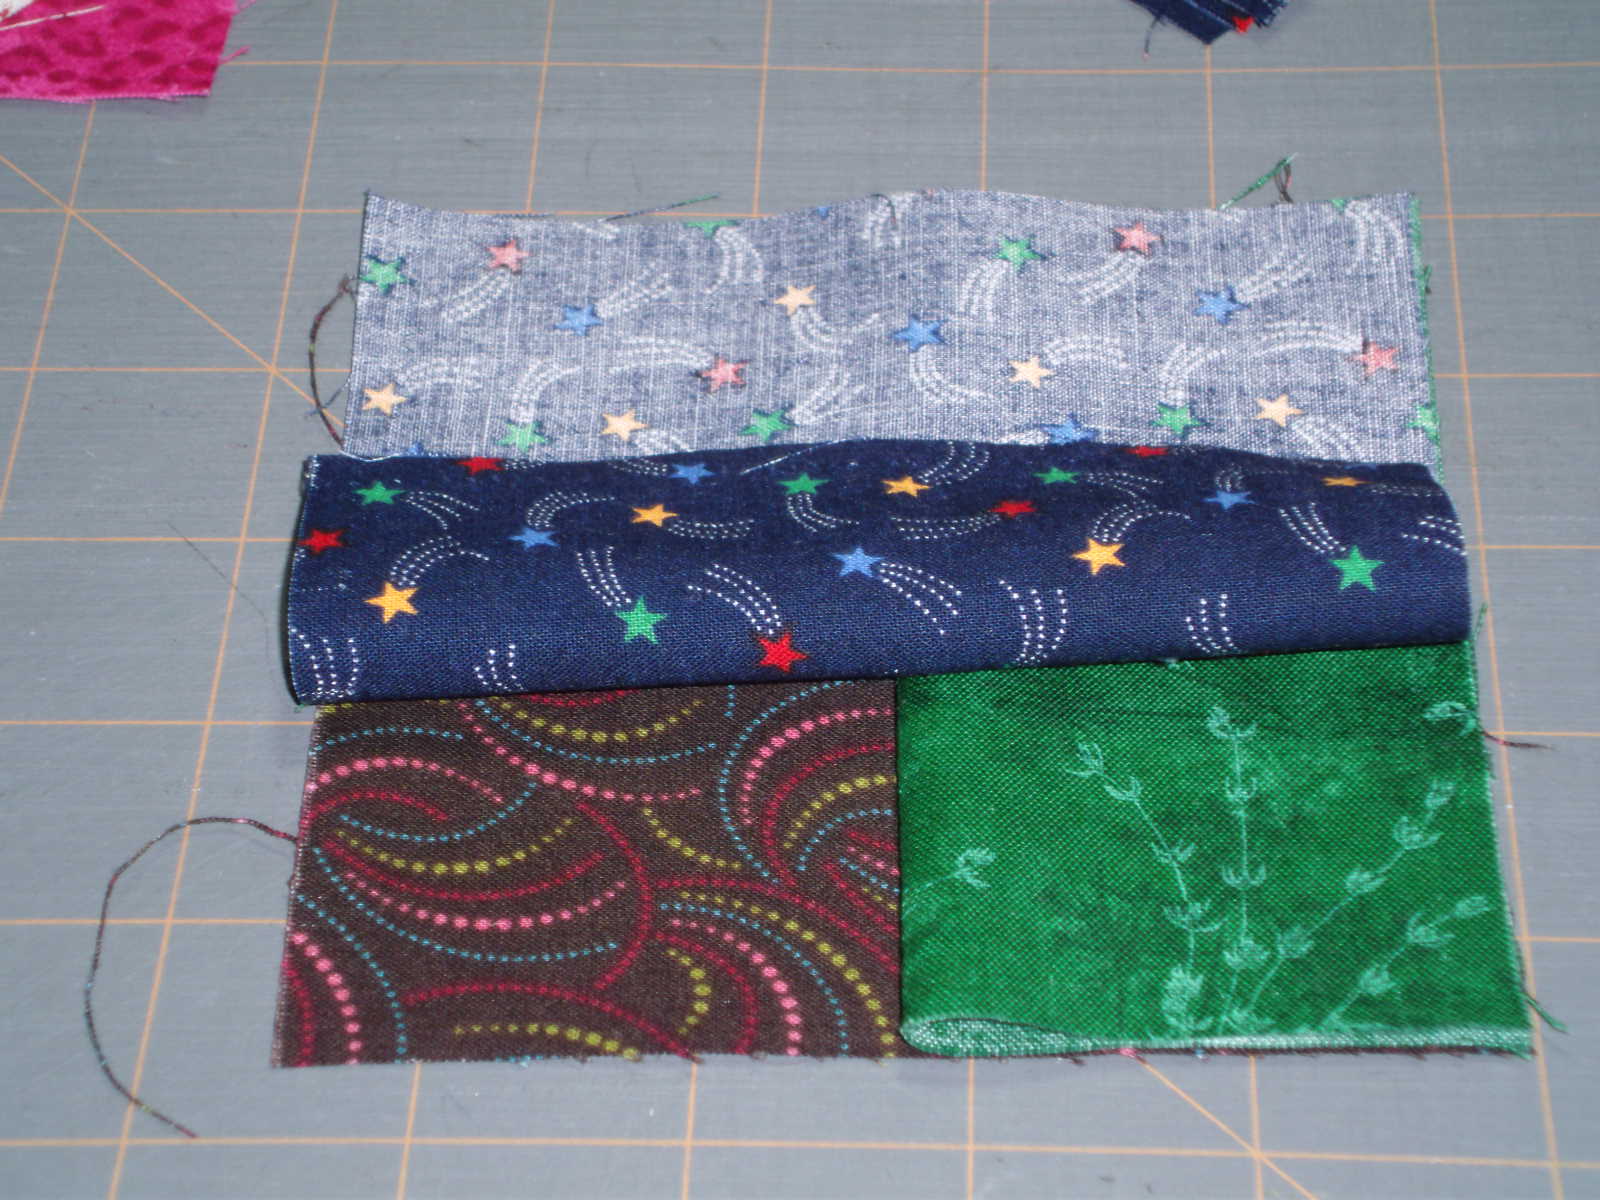
When you finish sewing this last seam and open the block up it should look like this. Now open it up and match up center seam lines, pin. The video shows the seam lines as pressed open which would reduce the bulk of crossing seam lines. I didn't, I just nested them running opposite directions.

I want to make a point here. See how close I pinned the center block to its edge? I found two things, one is to pin the right-side first and the second was to be sure to pin as close to the edge as possible. Because if you don't the right end of the center block pulls down away from the outside edge of the seam allowance when you are sewing on this small of a block. Also, don't remove that pin until you are right up to the pin or the center block will shift down.

Now pin like hell the rest of the seam line! See how that seam line is puckered! I discovered that if I kept what I was feeding into the sewing machine flat I ended up with fewer problems. Once you get to the centerline it was easier to then work the pucker out and finish the seam. Unfold and iron your seam allowances flat.
Next up is to play with the arrangement of the blocks! I'll let you know how that goes!
Have a good day!
Judy
Edit: 5/31/17 I have finished this quilt. Go here to see the finished quilt.
3 comments:
What an excellent tutorial. And what a great idea. Love what you did with the blocks. Very inspired! I imagine the quilt top will be just as inspired.
Hey, thanks for the comment, for some reason a couple of your comments got caught in the spam filter and I just checked it for the first time today, sorry about that!
Thank you. Great tutorial
Post a Comment