http://www.youtube.com/watch?v=kArIng_1Nzc
http://www.youtube.com/watch?v=-pL36s08wg4&feature=related
http://www.youtube.com/watch?v=gYkIh_fsyiE&feature=related
This one is not a video: http://welshquilter.blogspot.com/2008/02/quilt-as-you-go.html
I cut my backing and batting 1/2-inch larger than I want my block, because I dislike wasting fabric or batting. (In this case I cut the backing and batting in 9 1/2-inches square for the blocks and cut an eleven-inch square in half for the right triangles.) Pin the quilt sandwich together and quilt in a design that pleases you. I did stitch-in-the-ditch, leaving the pins in the corners.

I laid my quilted block out ready to trim it up.

I took a 10" square ruler and set it 1/4-inch from the edge of the quilt block and cut the excess off with my rotary cutter.

I am cutting my quilted blocks this way because I want to add 1-inch sashing strip with cornerstone around each block. I will be sewing 1/2-inch from the edge which will catch 1/4-inch seam allowance around each block and give me the batting I need for the sashings without adding extra batting.

Let me show you how this works! I cut a 2 by 9 1/4-inch strip of backing material and pinned it to the backing right-sides together.
Note: I tried a one-inch wide strip but because the blocks I am using don't extend to the edge, it was a pain to come back and add the sashing strips on the block side. I also discovered while using scraps from cutting the 9 1/2-inch squares of backing that I liked the bit of excess on the back-sashing strips.
Turn the quilted block over and pin the top-sashing strip on the edge of the block. I used 1 1/2 by 9 1/4 strip.

Put the block in the machine and sew 1/2-inch from the edge. Notice I am catching a 1/4-inch seam allowance on the quilt block and top-sashing with 1/2-inch of batting, backing, and bottom-sashing.

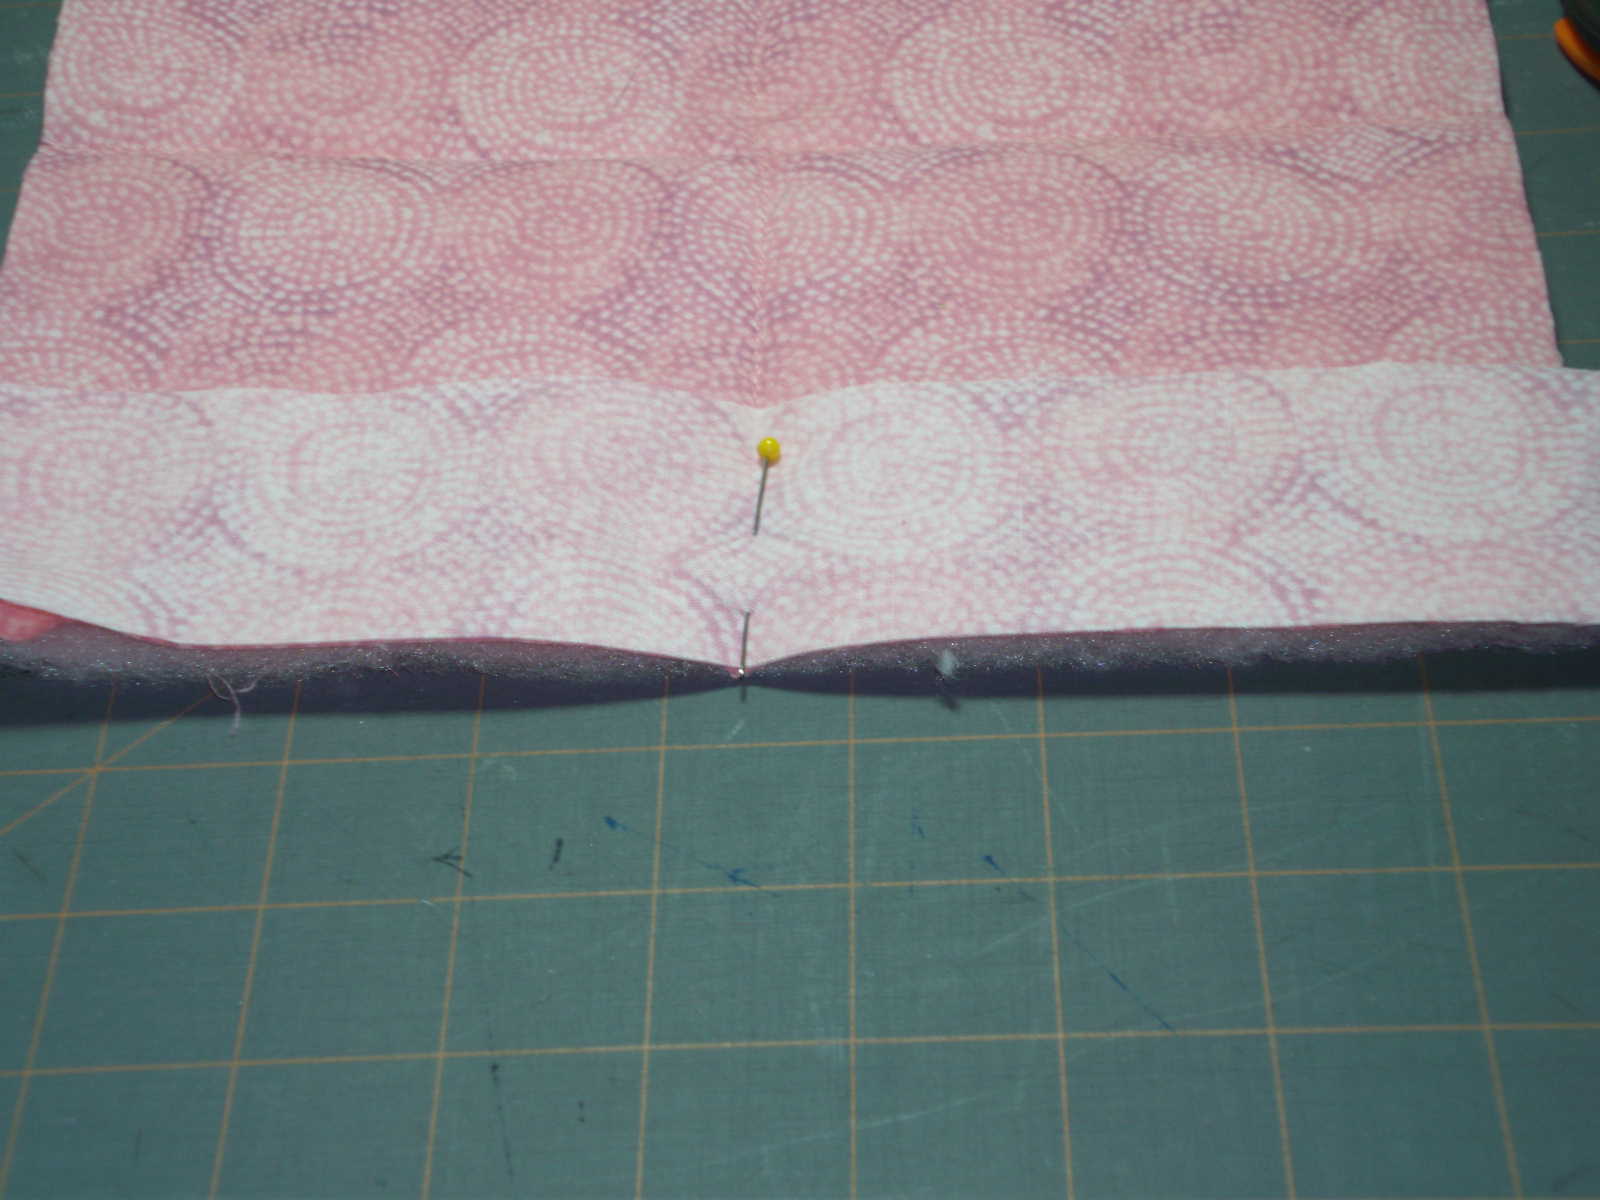
Then you pin the bottom-sashing to the next quilted block lining up edges.

This is a view from the side you will be sewing from. Notice all the pins? This is to hold everything so nothing slides around.

Before putting the pinned together blocks in the machine make sure the top-sashing is lying flat and not folded over where you are going to sew the seam. It is a pain to rip out! Sew another 1/2-inch seam.

This is a row of blocks sewn together.

Fold the top-sashing over your seams with a 1/4-inch tuck and pin.

Top stitch close to the edge and trim off the excess off each end of the sashings.

Next cut 1 1/2-inch squares for the cornerstones and 1 1/2 by 8 1/2-inch top-sashing strips. Gang piece all the units together until you have long strips for each row. For the end triangle cornerstones I found it easier to just sew 1 1/2-inch squares on the ends of my strips and trim off the excess material. It ended the frustration of not getting the triangles pointed in the right direction and having to rip. Can you tell I don't like to rip! LOL! Piece long 2-inch strips for the back-sashing.

Do the same pinning routine you did to get the row of blocks set together. The back-sashing is pinned to the edge of the backing and the top-sashing is pinned on the edge of the quilt block. Be sure and center your cornerstones over the top-sashing that are separating the quilt blocks. Sew 1/2-inch from the edge catching 1/4-inch of the top-sashing and quilt block.

Then pin the back-sashing to the previous row, be sure you line up your sashings that tied the rows of blocks together so when you get to the top stitching of the top-sashing the cornerstones line up where they belong. Sewing 1/2 inch seam allowance.
I

Fold over the top-sashing with a 1/4-inch tuck, pin, and top stitch down. Trim off any excess at the ends.

A detail shot of the row just finished.

Repeat until you have the center of the quilt done. (Notice my grass is going dormant because of the heat and lack of rain.)

All-n-all this gave me the traditional look I wanted on this quilt without having to wrangle large quantities of fabric in my machine. I think if I wanted wider top-sashings I would make the backing and batting the size I would need and use a 1-inch back-sashing then use the correct width top-sashing. For instance, had I wanted 2-inch sashing on top, instead of a 9-inch quilted block I would have made a 10-inch quilted block. I would use a 1-inch wide piece of sashing on bottom (or backing) with 1/4 inch seam allowances which would catch a 1/4 inch of the batting and keep it from bunching. Then a 2 1/2-inch sashing on top with 1/4-inch seam allowances to catch the edge of the quilt block. I would have to play with the concept to see if it worked and where the theory would have to be refined.
Well on to the borders! I have some ideas I think will work for quilting the borders and then attaching them, instead of the other way around. That will be the next post on this quilt.
Until then have a good day!
Judy
No comments:
Post a Comment