Friday, September 2, 2011

designing a quilt - the binding

There are several different ways to make binding. One is to make the backing larger and roll the edge over and top stitch down. It works, looks nice, and I have used it on lots of comforts. However it also wears out faster because it is a single layer of fabric. I have used the satin blanket binding you can buy, once again; it works, looks nice but doesn't wear to well. The one I use the most frequently is the bias French binding. My fabric is cut on the bias and doubled over. The raw edges are sewn together on the quilt and the fold line is brought around and either slipped stitched to enclose the raw edges or is top-stitched down. Heirloom quality quilts the binding is hand-finished. Quilts I want used are top-stitched down.


Find the perimeter of your quilt in this case is 63+63+88.5+88.5=303". Multiply the length times the width of the binding unfolded. I wanted my binding 2.5" wide, so 303x2.5=757.5 square inches of fabric for the binding. Divide the square inches by the width of your fabric. I always use 40 inches to give you the length of fabric you will need. 757.5/40=18.93 or a little more than a half yard. This also helps when making binding from scraps and knowing if you have enough scrapes to piece together to make your binding. So I used the rotary-cutter and cut me up a bunch of strips.


I always use seam allowances that are at a 45 degree angle because they reduce bulk when folded in half and the seams are on grain (no stretched seams). I also always start by laying them out end to end to get my seams allowance right. Otherwise you end with some 90-degree angles. Who wants to rip? Not me!


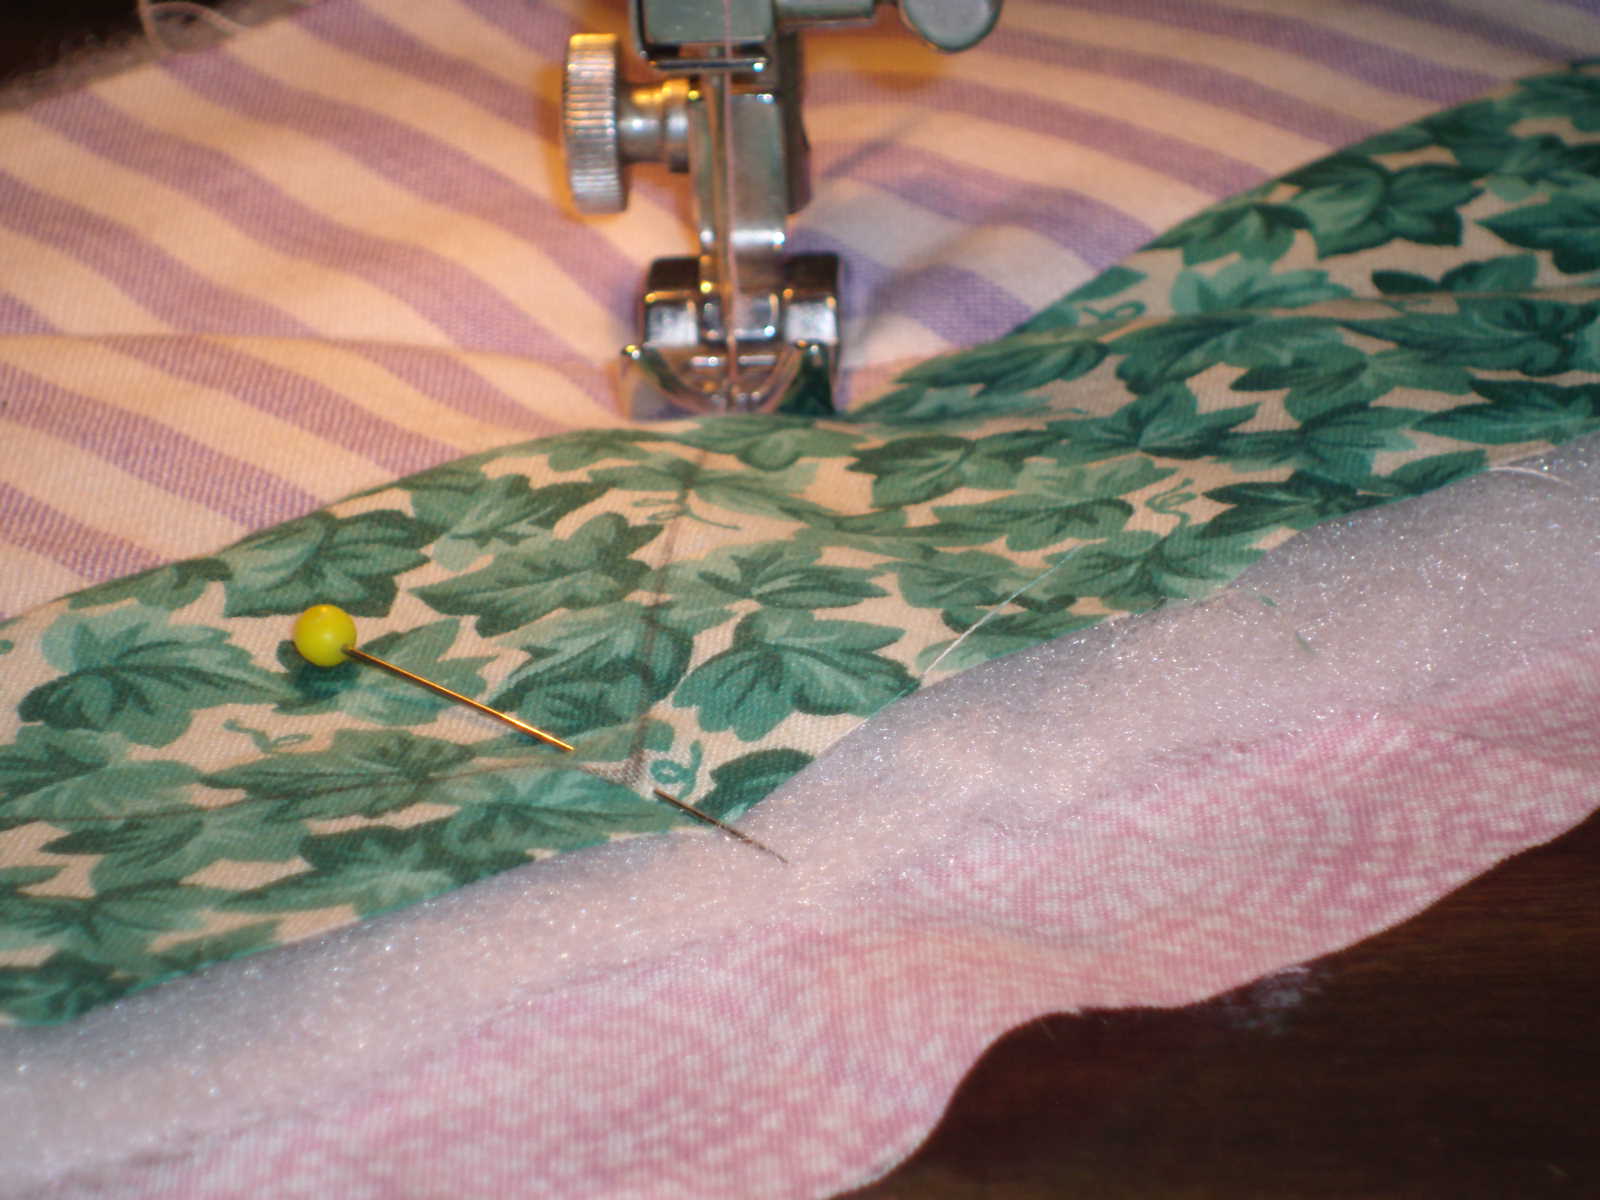
I pin my seam allowances. Notice the edges are off set the width of the seam allowance so that when you open up the seam allowances the top and bottom edges are straight.


I use a 1/4" seam allowance and gang piece my seams.


Press seam allowances to one side then fold in half and press a crease down the middle. Measure to see if you have enough binding. It is easier to add to length of binding when the binding is not sewn to the quilt!


Because I was going to apply the binding from the back instead of the front I trimmed the excess backing and batting off the quilt. If I am applying the binding from the front I don't trim.


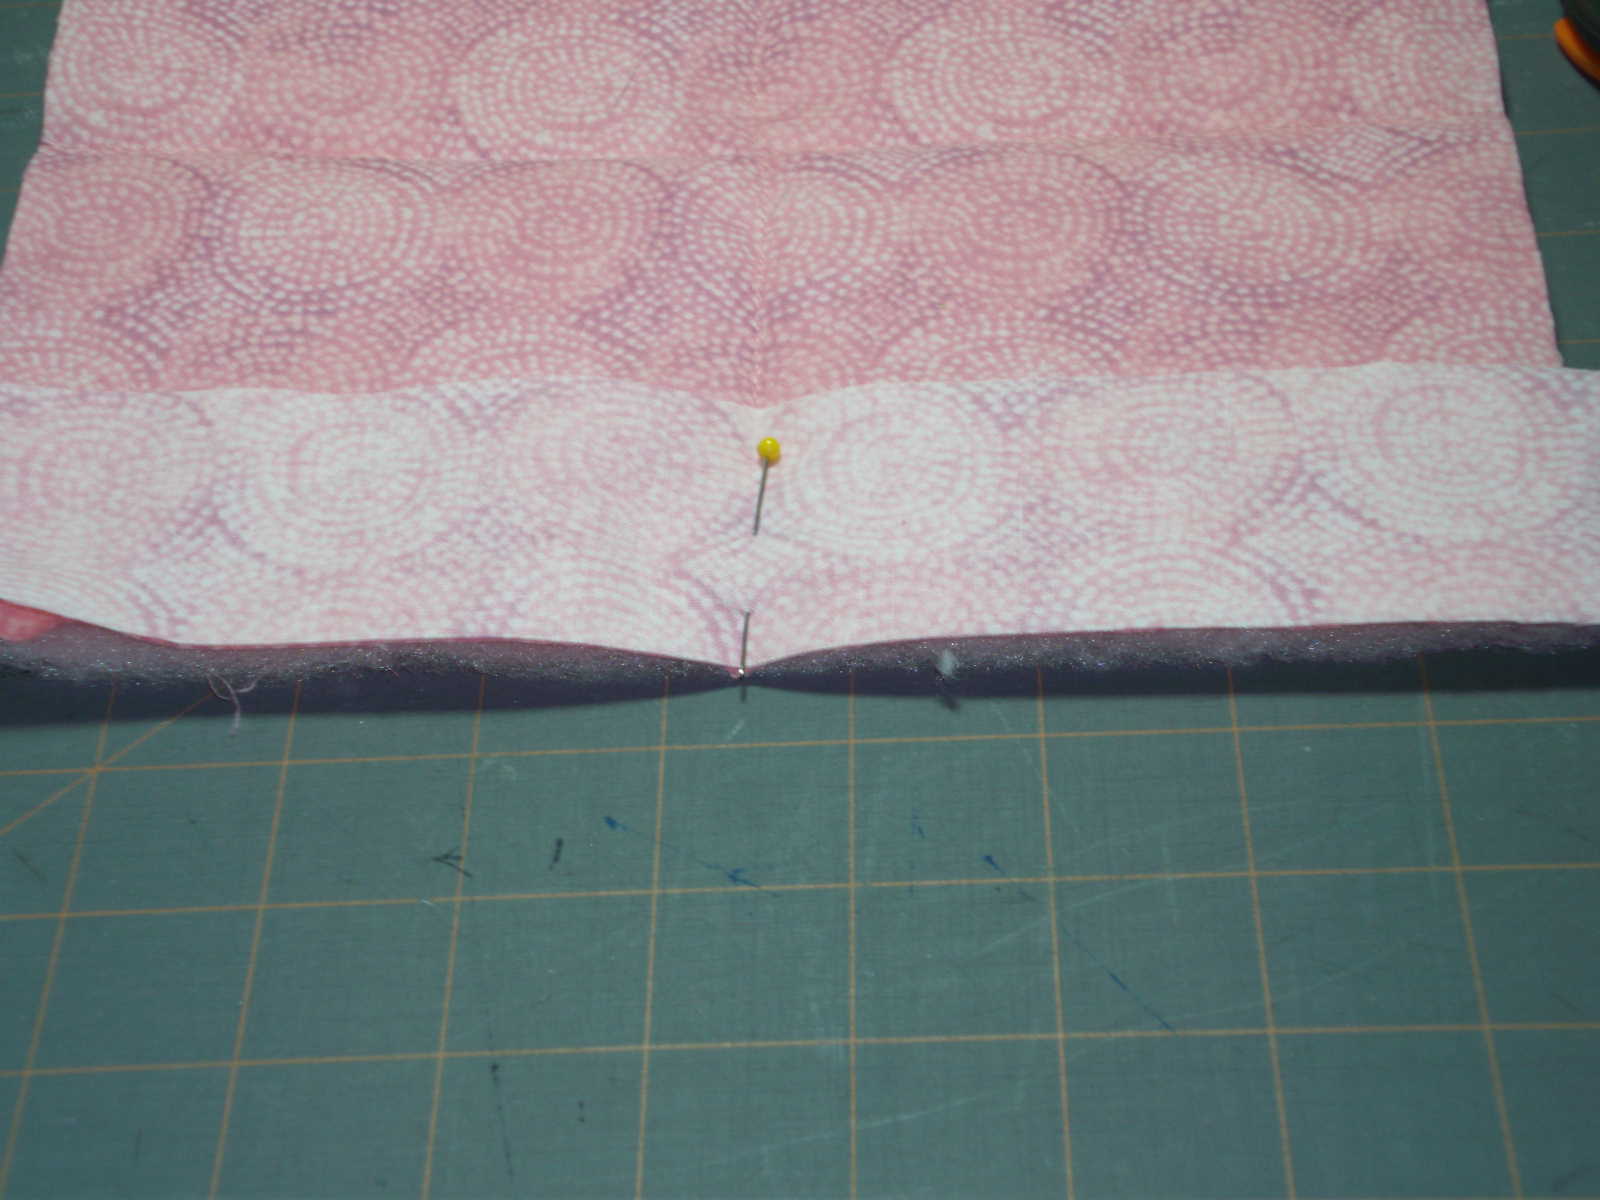
I pin my binding on, a lot of people don't. I don't want my binding to stretch because it is on the bias. I also don't want the raw edges shifting and I not catch them all in the seam allowance and have to go back and rip. (Shudder! Did I mention I really, really don't like to rip?) The photos of how to make mitered corners with your binding didn't turn out so here are some links so you can see the process. This is part One and Two and Three. One additional step I make is to over-stuff the binding. I've been told by quilters I respect that over-stuffing the binding cuts the wear of the binding. I also like the looks of an over-stuffed binding. What I do is cut 1/4 to 1/2-inch pieces of batting and place up against the raw edges. You do have to pin your binding closed: however to make it easier to top-stitch it closed. So what does this quilt look like finished?


TA! DA!


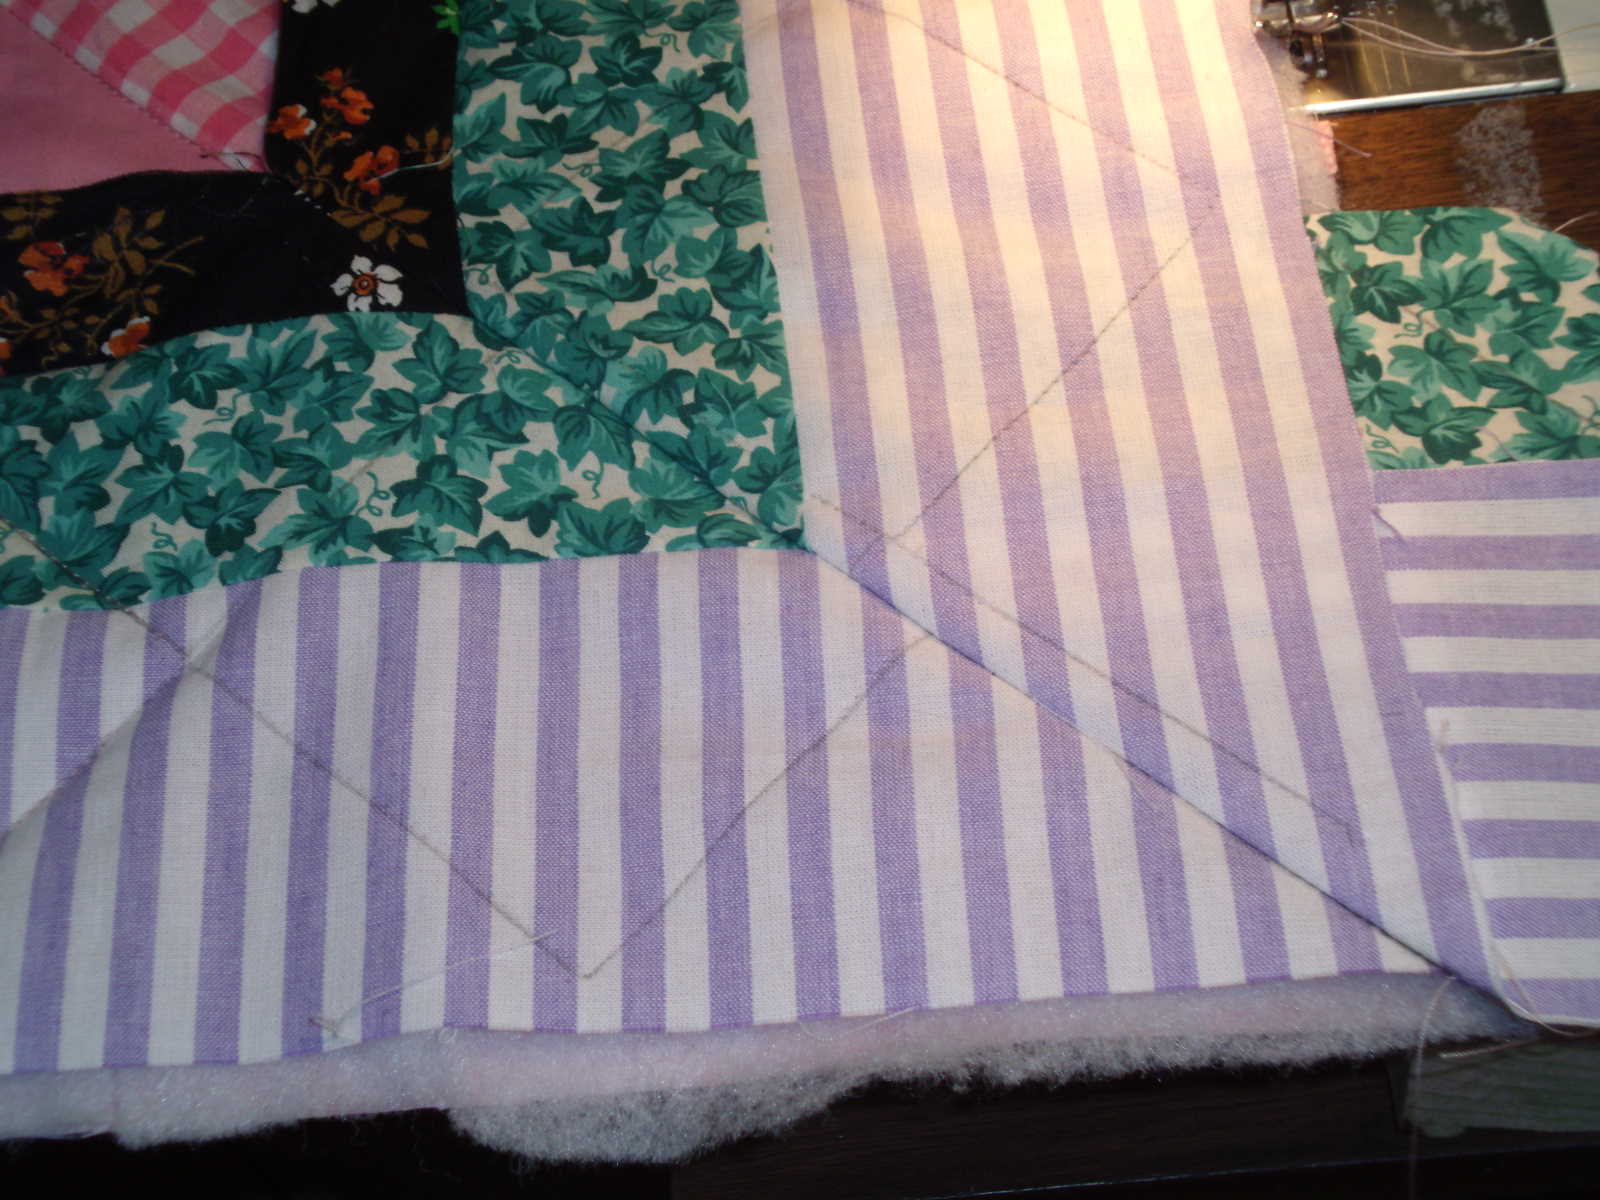
Detail photo of the corner!


And somebody taking a rest on the quilt!

There are no wrong ways to make a quilt. Do whatever suits your fancy. Remember the function of a quilt is to keep someone warm. So have fun and make quilts!

Have a good day!

Judy

Monday, August 29, 2011

Design a quilt - adding the border

Time to get this quilt finished!

I figured the over all length and width of the quilt as I wanted mitered corners and was able to cut the two outside borders in one strip for each side. How does that work? The center of the quilt measured 51" x 76.5". I wanted to add 3 borders with a total width of 6" which would bring the outside dimensions to 63" x 88.5". With that information I need two pieces of each of the three borders at least 63" long and two pieces of each of the three borders 88.5" long. Experience has taught to make the borders a couple of inches longer. It is easier to cut off than have to add on! The inside border had to be pieced. You can piece borders one of two ways with seams on grain or biased seams. Biased seams are less noticeable particularly when hand-quilting.


I have found a graphite type quilting pencil I really like for marking quilts. The lead is easy to sharpen in a pencil sharpener and makes a nice line. One caveat: Do Not Drop It. The lead breaks into a bunch of little pieces, in the pencil, and are useless except as a placeholder to keep the lead from pushing back into the pencil. (Since developing tendonitis in the right arm I grip too firmly and press down with the whole arm.)


I wanted a simple quilting design that mirrored the quilt design for the center. While digging through Mother's template stash I found a block cutting template that was perfect. I have learned to find center and start my marking from there after years of being dissatisfied with the results when starting at one end and going to the other.


I then pinned the three layers together at the points.


And quilt away!


I then pinned the inner most borders on and sewed them on with 1/4- inch seam allowance. As you can see the backing is about one inch longer than the border.


I used a 1/2- inch seam allowance to attach the backing to the quilt center. Here is where I find out that what I wanted to do didn't work!! I had to do some picking out of quilting! AARRGGHH!


As you can see I had to trim the excess off of the long sides of the quilt. Then take the short sides and sew the backing all the way across instead of ending at the edge of the center of the quilt and miter the corners. And I had to do more picking out of the quilting! RATS!!


I pinned back the borders and trimmed up the batting to fit.


Then I laid the borders so they over lapped and squared of the strips so they would match.


Got my ruler out and marked where the 45-degree seam would go.


Turned the seams to the wrong side and sewed on the line


Turned it right side out and checked to make sure it laid flat.


I trimmed the excess off leaving a 1/4-inch seam allowance. Pinned everything in place and adjusted quilt lines so they flowed into each other around the corner.


Re-quilted everything I had picked out.


Then I turned a 1/4-inch of the edge of the inside border under, pinned, and topstitched the edge down.


All and all the idea of quilting your borders and then attaching would work best IF you are not trying to miter the corners. Horizontal borders with or without cornerstones would be the best way to use this idea at this point. If you want mitered corners you will most likely want to attach the borders and backing and then add the batting and quilt.

This post is long enough so I will show you how I make binding and the photos of the finished quilt in another post.

Have a great day!

Judy

Saturday, July 30, 2011

Sorry about the changes to the blog, but I've been having some problems with comments.

Judy

Friday, July 29, 2011

another year older


Well, I'm not quite to 'old fart' status yet. That's when I get to draw Social Security at 62. But I'm getting there!

I made myself a birthday cake. This is my variation of Beverly's Dark Chocolate Cake from epicurious.com for an 8 by 8 pan.

Ingredients:
3/4 cup sugar
6 Tablespoons cocoa powder
3/8 teaspoon of salt
3/4 teaspoon of baking soda
3/4 teaspoon baking powder
1 cup flour, all purpose
1/2 teaspoon instant coffee
3 tablespoons vegetable oil
3/4 cup water or milk (I used almond milk because of an allergy to casein protein.)
1 large egg (I love cakes with duck eggs.)
1 teaspoon vanilla extract (I use Mexican vanilla cause I can get it by the quart bottle at the Mexican market for less than what they want for a little bottle at the grocery store.)

Directions:
Mix dry ingredients well with a whisk. Add wet ingredients and beat at medium speed with your hand mixer for 3 minutes. Pour into a greased and floured 8 x 8 pan and bake for about 25 minutes at 350 degrees F or until tester comes out clean. Cool.

This is the frosting recipe I am using with this cake. I found it on food.com by CoolMonday. It is called Creamy Peanut Butter Frosting which makes the whole thing taste kind of like a Reese's Peanut Butter Cup. And I do like Reese's Peanut Butter Cups!

Ingredients:
1/2 butter, softened
1/2 cup creamy peanut butter
2 cups powdered sugar
2 Tablespoons milk (almond in my case)
1 teaspoon vanilla

Directions:
Cream butter and peanut butter together. Add half of the powdered sugar and blend. Mix in milk and vanilla. Add remaining powdered sugar and beat on high until light and fluffy. Then frost cake.

You may have some left over which is great for graham crackers sandwiches later!

EDIT: I store this cake in the refrigerator because the frosting is a little soft to leave on the counter. J

Have a good day!

Judy

Sunday, July 24, 2011

Designing a quilt - putting it together

In the last post we had the blocks put together based on our quilt design here. So now I am going to "quilt as you go". I found several videos on you-tube. Here are some links:
http://www.youtube.com/watch?v=kArIng_1Nzc
http://www.youtube.com/watch?v=-pL36s08wg4&feature=related
http://www.youtube.com/watch?v=gYkIh_fsyiE&feature=related
This one is not a video: http://welshquilter.blogspot.com/2008/02/quilt-as-you-go.html

I cut my backing and batting 1/2-inch larger than I want my block, because I dislike wasting fabric or batting. (In this case I cut the backing and batting in 9 1/2-inches square for the blocks and cut an eleven-inch square in half for the right triangles.) Pin the quilt sandwich together and quilt in a design that pleases you. I did stitch-in-the-ditch, leaving the pins in the corners.


I laid my quilted block out ready to trim it up.


I took a 10" square ruler and set it 1/4-inch from the edge of the quilt block and cut the excess off with my rotary cutter.


I am cutting my quilted blocks this way because I want to add 1-inch sashing strip with cornerstone around each block. I will be sewing 1/2-inch from the edge which will catch 1/4-inch seam allowance around each block and give me the batting I need for the sashings without adding extra batting.


Let me show you how this works! I cut a 2 by 9 1/4-inch strip of backing material and pinned it to the backing right-sides together.

Note: I tried a one-inch wide strip but because the blocks I am using don't extend to the edge, it was a pain to come back and add the sashing strips on the block side. I also discovered while using scraps from cutting the 9 1/2-inch squares of backing that I liked the bit of excess on the back-sashing strips.


Turn the quilted block over and pin the top-sashing strip on the edge of the block. I used 1 1/2 by 9 1/4 strip.


Put the block in the machine and sew 1/2-inch from the edge. Notice I am catching a 1/4-inch seam allowance on the quilt block and top-sashing with 1/2-inch of batting, backing, and bottom-sashing.


Then you pin the bottom-sashing to the next quilted block lining up edges.


This is a view from the side you will be sewing from. Notice all the pins? This is to hold everything so nothing slides around.


Before putting the pinned together blocks in the machine make sure the top-sashing is lying flat and not folded over where you are going to sew the seam. It is a pain to rip out! Sew another 1/2-inch seam.


This is a row of blocks sewn together.


Fold the top-sashing over your seams with a 1/4-inch tuck and pin.


Top stitch close to the edge and trim off the excess off each end of the sashings.


Next cut 1 1/2-inch squares for the cornerstones and 1 1/2 by 8 1/2-inch top-sashing strips. Gang piece all the units together until you have long strips for each row. For the end triangle cornerstones I found it easier to just sew 1 1/2-inch squares on the ends of my strips and trim off the excess material. It ended the frustration of not getting the triangles pointed in the right direction and having to rip. Can you tell I don't like to rip! LOL! Piece long 2-inch strips for the back-sashing.


Do the same pinning routine you did to get the row of blocks set together. The back-sashing is pinned to the edge of the backing and the top-sashing is pinned on the edge of the quilt block. Be sure and center your cornerstones over the top-sashing that are separating the quilt blocks. Sew 1/2-inch from the edge catching 1/4-inch of the top-sashing and quilt block.


Then pin the back-sashing to the previous row, be sure you line up your sashings that tied the rows of blocks together so when you get to the top stitching of the top-sashing the cornerstones line up where they belong. Sewing 1/2 inch seam allowance.
I


Fold over the top-sashing with a 1/4-inch tuck, pin, and top stitch down. Trim off any excess at the ends.


A detail shot of the row just finished.


Repeat until you have the center of the quilt done. (Notice my grass is going dormant because of the heat and lack of rain.)


All-n-all this gave me the traditional look I wanted on this quilt without having to wrangle large quantities of fabric in my machine. I think if I wanted wider top-sashings I would make the backing and batting the size I would need and use a 1-inch back-sashing then use the correct width top-sashing. For instance, had I wanted 2-inch sashing on top, instead of a 9-inch quilted block I would have made a 10-inch quilted block. I would use a 1-inch wide piece of sashing on bottom (or backing) with 1/4 inch seam allowances which would catch a 1/4 inch of the batting and keep it from bunching. Then a 2 1/2-inch sashing on top with 1/4-inch seam allowances to catch the edge of the quilt block. I would have to play with the concept to see if it worked and where the theory would have to be refined.

Well on to the borders! I have some ideas I think will work for quilting the borders and then attaching them, instead of the other way around. That will be the next post on this quilt.

Until then have a good day!

Judy

Wednesday, July 20, 2011

that was fun (not)


(From Wikipedia: Laying pipe for Seattle water supply 02 - 1900.jpg)


Monday night Sister Suzy and I were taking the trash out to the street for trash pick-up the next morning and Sister Suzy stepped off the sidewalk into a wet spot. She hollered at me to come here! Using the flashlight and looking around she was standing in a puddle in the grass with the water meter in a direct line on the other side of the sidewalk. Uh Oh! That was the exact spot we dug up eight years ago and tied into the water line. We called Hubby out for him to have a look-see and a strategy session. The game plan was to get up early when it was cool and start digging after watering everybody and filling some buckets.

Tuesday morning we actually got up early to beat the heat and got everything set up. I lay (I just learned the correct past tense for lie. Woot!) down beside the water meter and had to bail water to get to the shut-off valve. Then we started the odious task of digging up the water line on our side of the sidewalk. We finally found the shut-off valve we installed on our side (You can never have too many!) and turned it off so the water from the house wouldn't siphon back. We bailed water out of the hole and dug Muddy Black River-Bottom Gumbo for three hours until we found the pipe coming in from the meter. The light moments were when we were scraping mud off the shovel and it was plopping on the pile and looked like a smaller version of the dino dung pile that the actors in Jurassic Park dug in to find a phone. Turned all the valves on and watched the meter spin around-n-around while watching the water level in the hole start to rise very slowly. We figured out which joint was leaking so we came in the house and called it a day because it was up over 100 degrees by then.

This morning we even got up earlier and got busy. Had to bail the meter hole again to turn it off. Hubby headed to the hardware store for parts. Sister Suzy and I got to bail water out of the hole we had dug and then enlarge the hole to expose more pipe so the pipe would flex as we replaced joints. What a muddy nasty mess! Because of the saturated heavy clay soil the water kept perculating into the hole. The dirt was sticking to the shovel and the dirt would fall into the water and fall apart. Then we would have to bail the muck out of the hole. If you weren't careful the muck would splash and you would have it all over your face because we were on our bellies hanging over a three-foot deep hole scooping and scraping mud.

We finally got enough pipe exposed I called break time. As we sit around the table having a drink and cooling off we discussed how to get the leaky joint replaced. Quite frankly I was ready to call it a day because I was stiff, sore, hot and miserable. I just wasn't looking forward to trying to make the repair because I was having trouble reaching the bottom of the hole and I remembered having trouble making the original joint. I wasn't too sure I could make a better joint this time being eight years older and not as spry as I was eight years earlier. (I'm also too short at 5'2" to lie on my belly and comfortably reach the bottom of a three-foot hole!) Sister Suzy wanted to 'get-er-done' so she suggested we get one of the neighbor guys that my bunch grew up with to come and do the actual gluing of the joint. She called and he was gracious enough to come over, cut the old joint out and install the new one. (Hubby is taking him and Sister Suzy next weekend to 'Harry Potter, IMAX' as a token of appreciation.)

The men were ready to immediately turn the water back on to see if it was going to leak. I was adamant we were going to wait this time for the joint to cure before turning on the water. (I think that was one of the mistakes we made last time along with not getting the end of the pipe all the way to the bottom the coupling.) Hubby bought a new glue that will work wet or dry and on any type of PVC pipe. It is suppose to be set in 15 minutes and completely cured in two hours at 60 degrees. We waited three hours at 100+ degrees! LOL

And the results? No leaks! Yeah!

We are going to refill the hole with play sand up to about four-inches from the top. Then add topsoil for the grass to have something to root in. If we ever need to dig that hole up again it should be easier to dig in sand than clay!

Have a good day!

Judy

Tuesday, July 5, 2011

tappan zee sweater update

Remember the sweater I was working on for myself?


And the problems I was having here? And I thought I had all the problems solved here? Well, guess what? I ran into more problems. I slipped my knitting onto some waste yarn and tried it on because the sweater looked like it was long enough to start the bottom band. (I have a doctor's appointment tomorrow and wanted to work on my sweater while waiting to be seen.) The body of the sweater is too small! Insert several expletives here! Evidently when I knit stockinette I can get gauge. Sooo, I had a frog party and ripped it out to where the beige joins the plum and added the stitches I need to make the body the right size. Which means I will probably not have enough yarn to add the sleeves I want in the length I want. Rats! The colors are discontinued so I will have to get on Ravelry and see if anyone has yarn in their stash that they are wanting to part with. And to continue the whine, it took three rows to get the stitch count right in the right places. I had too many in the left and right fronts and not enough in the back. I have now knitted two rows with the stitch counts correct in each section of the sweater. So I hope I have it all straighten out for tomorrow. Wish me luck!

On a side note they are still firing fireworks as I type this! Sound like mortars! Guess I ought to go out and watch!

Have a good evening!

Judy